How to Apply Laminate on MDF: Adhesive Choices, Pressing Tips & Common Mistakes
Learn the correct way to laminate MDF—adhesive selection, pressing, trimming, and edge banding—so the laminate doesn’t bubble or peel.
Quick Decision Summary
Select a moisture-resistant polyurethane (PU) adhesive, apply evenly on clean MDF, press under even pressure for 2-4 hours using a cold press or vacuum bag, trim excess, and apply edge banding to seal exposed edges.
If you’re in a hurry: Prep MDF by sanding and acclimating to room humidity for 48 hours. Use PU glue for strong bonding in humid Indian conditions. Spread 150-200 gsm adhesive, roll out laminate without air pockets, clamp or press flat. Trim with a sharp guillotine cutter post-cure. Seal edges immediately to block monsoon moisture ingress. This method works for wardrobes and kitchen shutters, preventing 90% of common bubbles and peels.
- Choose this if… working on modular furniture like wardrobes or TV units in coastal or monsoon-prone areas needing durable, high-pressure finishes.
- Avoid this if… MDF is below 700 kg/m³ density or already warped; opt for pre-laminated boards instead to skip on-site risks.
What This Material/Option Actually Is
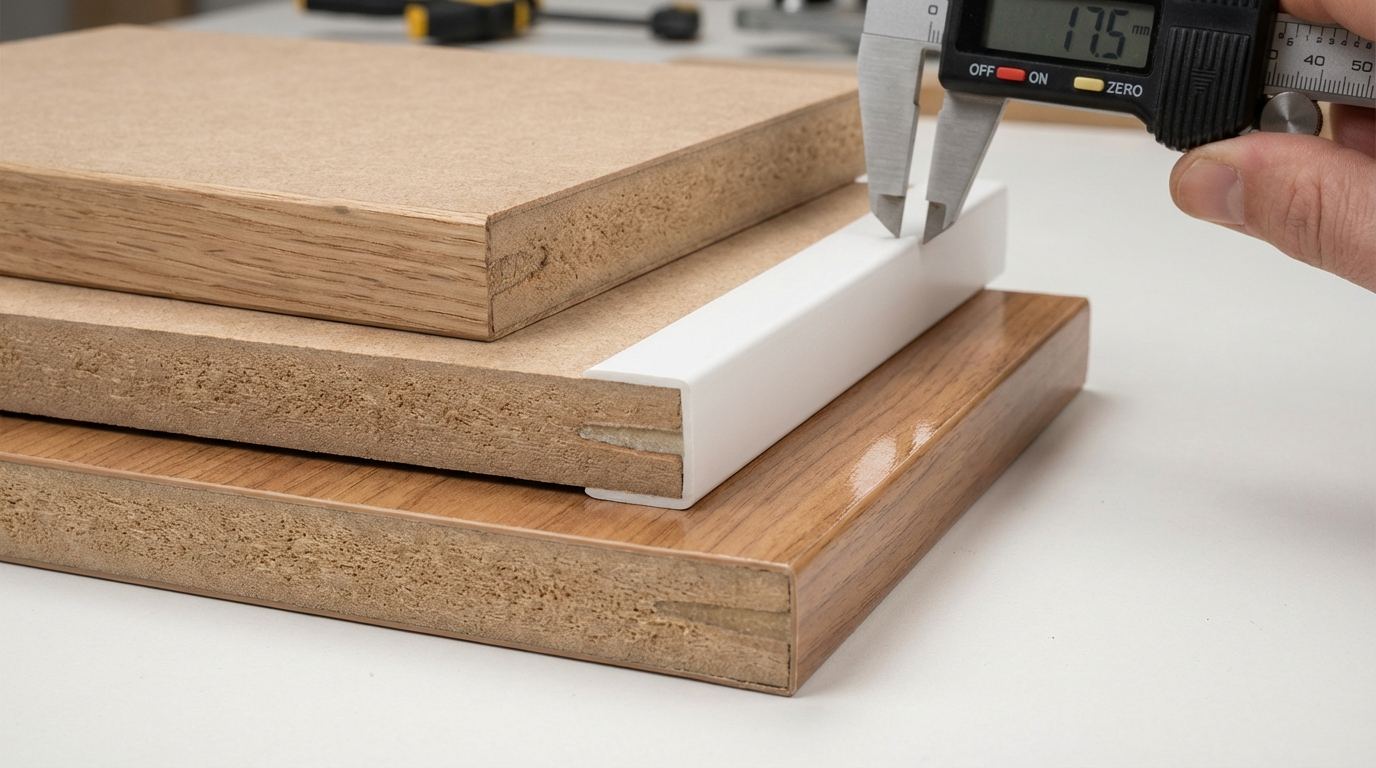
Laminating MDF involves bonding a thin decorative sheet—typically 0.6-1.2 mm thick made of resin-impregnated paper layers—to medium-density fiberboard (MDF) substrate using specialized adhesives. The result mimics wood veneer or solid surface aesthetics at lower cost, ideal for flat panels in cabinets and partitions.
MDF provides a smooth, uniform base for lamination, unlike plywood which has grain voids. Common setups pair standard MDF with post-forming laminates for curved edges or high-pressure laminates (HPL) for heavy-use surfaces. In Indian workflows, this finish upgrades basic boards for kitchens and offices, but requires precise execution to match factory pre-lams.
What’s the difference between laminate and veneer on MDF?
Laminate uses synthetic resin sheets for uniform color and scratch resistance, lasting 10-15 years in home use. Veneer is real wood slices (0.6 mm) needing more skill to avoid telegraphing MDF grain. Choose laminate for budget flat panels; veneer suits premium aesthetics but risks splitting in humid storage. Test by pressing a sample: laminate stays flat, veneer may cup. Next, check adhesive compatibility—PU works for both but cures differently on porous veneer.
Can you laminate curved MDF edges?
Yes, with flexible post-formable laminates (1 mm thick) and heat-assisted pressing at 60-80°C. Standard laminates crack on bends over 5 mm radius. Prep MDF by routing a bullnose profile first. In coastal areas, use HDF substrate for better hold. Verify by bending a sample strip—if it snaps, switch types. Always edge-band straight sections post-lam to prevent peel from sweat exposure.
Why It Matters in Indian Homes and Sites
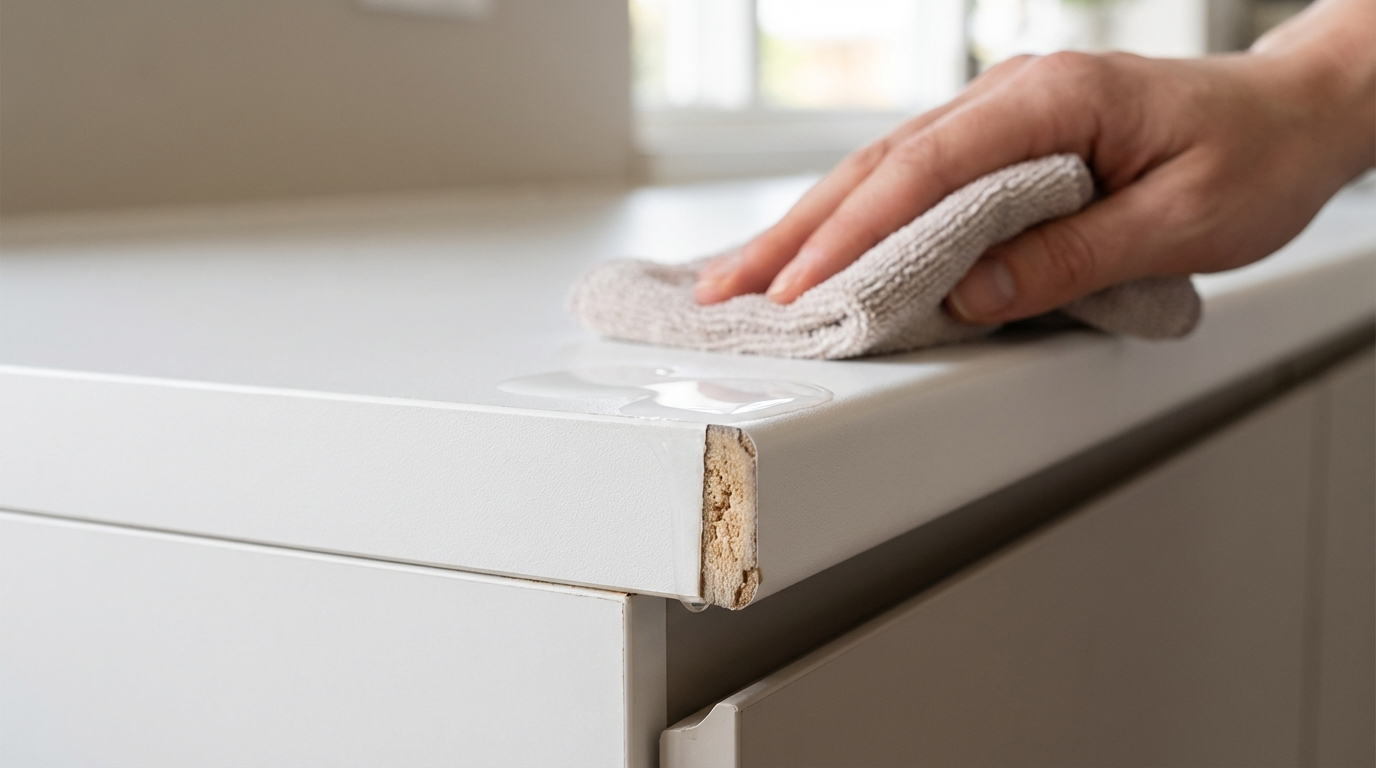
Indian climates—monsoon humidity above 80%, coastal salt air, and poor site ventilation—accelerate delamination if lamination skips moisture barriers. Unsealed edges swell, bubbling laminate within months on kitchen shutters.
Site realities like dust, uneven contractor skills, and stacked storage without spacers cause air traps and weak bonds. Proper lamination boosts screw-holding by 20-30% over bare MDF, vital for modular wardrobes holding 50 kg loads. In urban projects, it cuts rework by sealing against cooking vapors and AC drips.
How to Decide or Do This in 5 Steps
- Prep MDF: Acclimate boards 48 hours in install room. Sand to 180-grit for 0.2 mm smoothness. Wipe with damp cloth, dry fully—check no dust via tacky tape test.
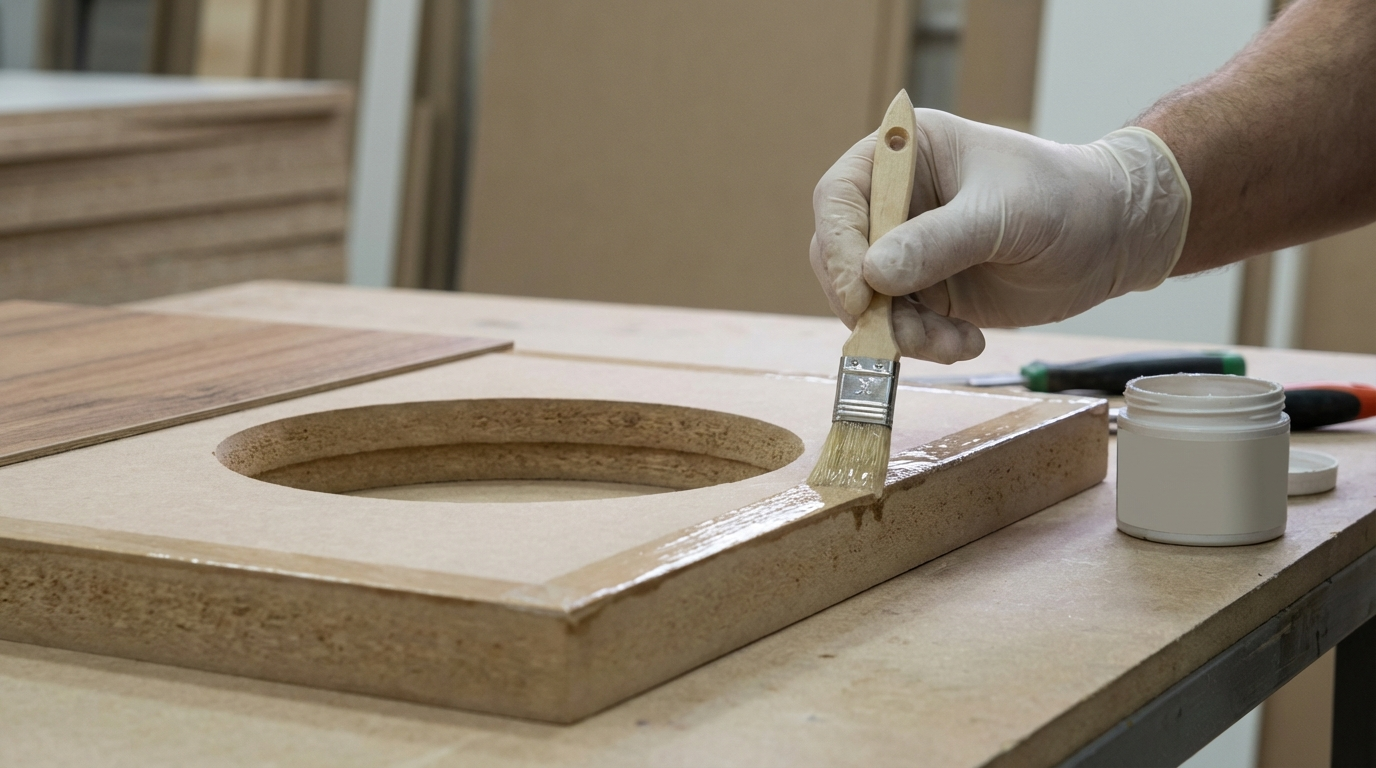
- Select Adhesive: PU for humidity; apply 150-250 gsm with roller. Avoid PVA in wet zones.
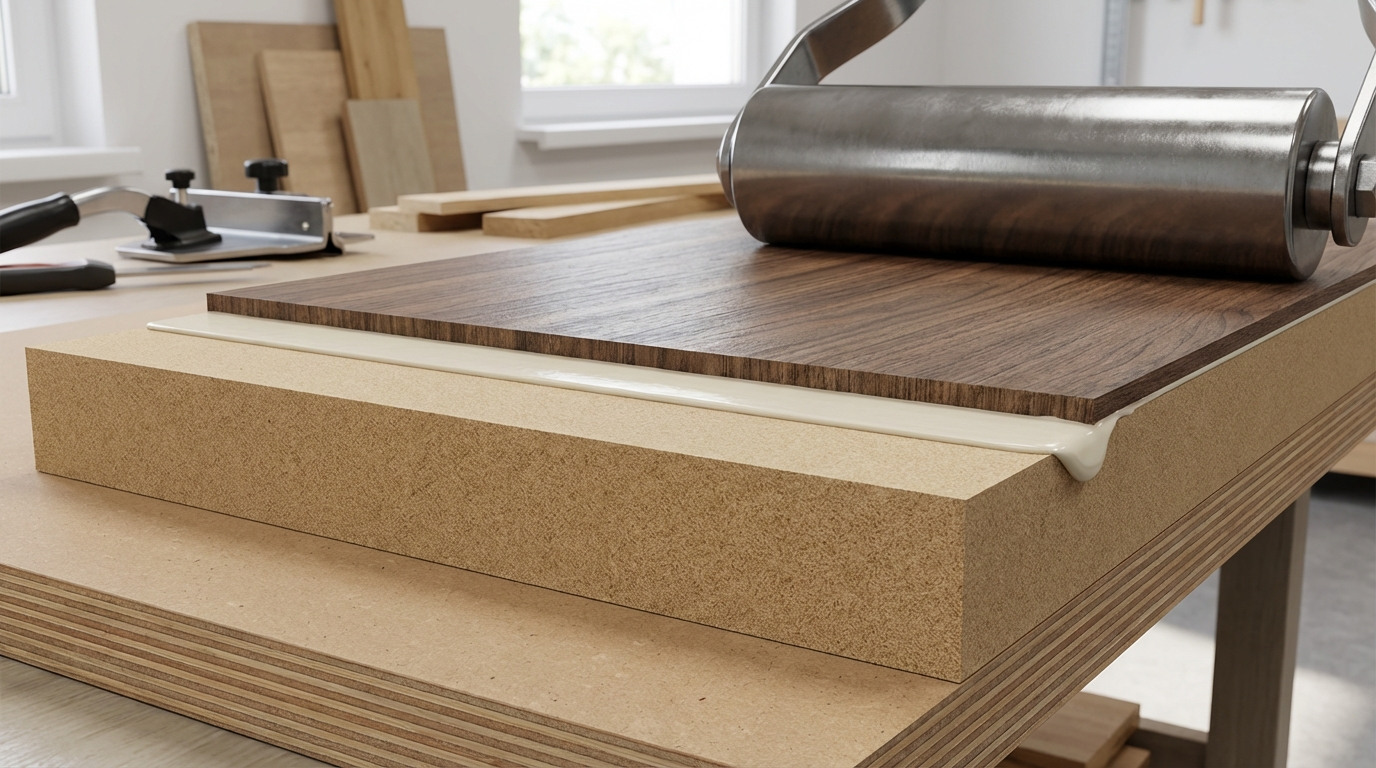
- Apply and Press: Lay laminate dry-fit first. Glue MDF side, position sheet, roll from center out. Press 2-4 hours at 0.5-1 kg/cm².
- Trim Excess: Wait 4 hours cure. Use flush trim router or guillotine at 45° bevel.
- Edge and Seal: Apply 1-2 mm PVC edge band matching laminate. Heat-activated for tight seal.
Each step includes failure checks: measure humidity pre-start (under 65% RH ideal). Trade-off: manual roller saves cost but risks bubbles vs vacuum press uniformity.
Adhesive Choices: Types and When to Use Each
Polyurethane (PU) adhesives dominate for MDF due to moisture resistance and 24-hour full cure. Apply in thin layers to avoid stringing in humid shops.
| Type | Bond Strength | Cure Time | Best For | Drawbacks |
|---|---|---|---|---|
| PU (1K/2K) | High (wet/dry) | 2-24 hrs | Monsoon sites, kitchens | Yellowing if UV exposed |
| PVA (White Glue) | Medium | 1-2 hrs | Dry interiors | Weakens in humidity |
| Contact Cement | Medium-High | Instant tack | Curves, fast jobs | Toxic fumes, no rework |
| Hot Melt | Low-Medium | Seconds | Edge banding only | Poor heat resistance |
Which adhesive holds best in humid Indian workshops?
2K PU adhesive excels, forming cross-links resistant to 90% RH. Mix activator precisely (5:1 ratio) for 30-min pot life. In Mumbai or Chennai shops, it prevents 80% of peel failures vs PVA. Spread evenly with notched trowel (1 mm depth). Test bond by peeling sample after 24 hours—if fibers tear, it’s good. Avoid over-application causing bleed-through on light laminates.
Pressing Techniques: Manual vs Vacuum vs Membrane
Cold press (manual clamps or screw press) suits small shops: even 0.5 kg/cm² for 4 hours. Vacuum bags pull 0.8 kg/cm² uniformly, ideal for large sheets without rollers.
Membrane presses handle curves but need 100-150°C heat. In India, cold methods prevail for cost, but add silicone rollers to expel air pockets.
How long to press laminate on MDF for no bubbles?
Minimum 2 hours under full pressure, full cure 24 hours before trimming. Bubbles form from trapped air or poor rolling—roll center-out with 50 kg roller in 3 passes. In humid sites, extend to 4 hours. Check by tapping: dull thud means voids. Prevention: dry-fit laminate first, poke pinholes if needed. Post-press, store vertical to avoid sag.
Trimming and Edge Banding Essentials
Trim after partial cure using 60-tooth blade router at 20,000 RPM for clean 0.1 mm edge. Bevel 15° to tuck under banding.
Edge band with 0.45 mm thick PVC matching laminate print. Use hot air gun (180°C) for 1-second melt, press roller. Seal with silicone for monsoon-proof joints.
Why does laminate peel at edges after trimming?
Exposed MDF fibers absorb moisture, swelling and lifting laminate. Root: skipping edge prep or thin glue line. Prevent by sanding edges post-trim and applying extra PU bead before banding. In coastal homes, use HDFWR substrate. Check fix: scrape loose, re-glue, clamp 24 hours. Long-term, specify full-perimeter banding in drawings.
Common Mistakes to Avoid
- Mistake 1: Skipping acclimation—boards warp in site humidity. Fix: 48 hours in room.
- Mistake 2: Uneven glue spread—bubbles form. Use gauge roller.
- Mistake 3: Pressing too soon—sliding sheets. Wait 5-min open time.
- Mistake 4: Dull trim tools—chipping laminate. Sharpen daily.
- Mistake 5: No edge sealing—monsoon delam. Band immediately.
- Mistake 6: Over-clamping—dent MDF. Use pads, 0.5 kg/cm² max.
- Mistake 7: Ignoring dust—weak bonds. Vacuum pre-glue.
- Mistake 8: Wrong adhesive for zone—PVA in kitchen fails. Match to RH.
- Mistake 9: Storing flat post-lam—sag marks. Vertical racks.
- Mistake 10: Heat on PU—softens bond. Cold press only.
Failure Modes and Fixes
- Symptom: Bubbles under laminate. Cause: Air pockets from poor rolling. Prevent: Multi-pass roller. Fix: Slit, inject glue, repress.
- Symptom: Edge peeling. Cause: Moisture wicking. Prevent: Prompt banding. Fix: Scrape, reband with PU.
- Symptom: Delamination in center. Cause: Weak glue or humidity. Prevent: 2K PU. Fix: Full replacement if over 10% area.
- Symptom: Chipping on trim. Cause: Dull blade. Prevent: High-RPM router. Fix: Sand, touch-up with matching filler.
- Symptom: Yellowing over time. Cause: UV on PU. Prevent: Topcoat matte. Fix: Cosmetic only, no structural.
- Symptom: Screw pull-out weak. Cause: Glue bleed into holes. Prevent: Mask fasten zones. Fix: Reinforce with inserts.
Decision Framework for Lamination Projects
| Condition | Recommended Approach | Verify Checklist |
|---|---|---|
| Wet zone (kitchen) | 2K PU + Vacuum press + 2 mm edge band | Adhesive RH test; pressure gauge; band melt test |
| Coastal humidity | HDF substrate + full-perimeter seal | Edge sand smoothness; silicone bead continuity |
| Heavy use (office) | 1.2 mm HPL + Membrane press | Scratch test on sample; flatness post-press |
| Tight budget | PVA + Manual roller + 1 mm band | Dry zone only; cost per sqm calc |
| Fast delivery | Contact cement + Clamps | Tack time trial; no curves |
| High scratch risk | Textured laminate + Thick glue | Steel wool test; gloss level match |
Quality Checks You Can Do Without Lab Tests
Before Buying: Tap edges for hollow sound (voids); flex sheet—no cracks. Ask for recent batch density sheet.
After Cutting: Check perpendicularity (<0.5 mm over 1 m); sand edges feel glassy smooth.
After Installation: Press edges—no lift; wipe test—no color bleed. Humidity gauge under 65% RH.
How to spot poor-quality MDF before laminating?
Low density shows as fuzzy cut edges or dents from finger press. Good MDF springs back, cuts clean. In Indian markets, reject if over 5% swelling in water drop test after 1 hour. Weigh sample: 700+ kg/m³ feels hefty. Next, sand test—minimal dust means tight fibers for glue hold.
Tips by User Persona
Homeowners: Clean with microfiber + mild soap; avoid abrasives. Do: Vertical storage. Don’t: Direct steam clean.
Carpenters: Cut oversize 10 mm; route hinges pre-lam. Use 1.5 mm pilot holes. Handle with suction cups.
Architects: Spec “0.8 mm HPL, PU glue, full edge band” in drawings. Detail 5 mm overhangs for drips.
OEM/Modular Makers: QC: 100% tap test post-press. Batch-code panels. Reduce returns with moisture meter logs.
What should carpenters watch during MDF lamination?
Monitor glue open time (5-10 min max) to avoid skinning. Roll laminate in ambient 25-30°C. In summer heat, mist water for tack. Check pressure uniformity with paper slip test under clamps. Post-job, photo edges for records. This cuts complaints by half in wardrobe runs.
Practical Use Cases: What Works Where
| Application | Thickness | Finish Notes | India Risk Mitigation |
|---|---|---|---|
| Wardrobe shutters | 18 mm MDF + 1 mm lam | Matte woodgrain | Double edge band; PU glue |
| Kitchen cabinets | 16 mm + 1.2 mm HPL | Anti-scratch | Vacuum press; silicone seal |
| TV units | 12 mm + 0.8 mm | Gloss white | Contact cement for speed |
| Wall panels | 8 mm HDF + textured | Stone print | Moisture acclimation |
FAQs
Can beginners laminate MDF at home?
Yes, with basic tools like roller, clamps, and sharp cutter, but expect 20-30% waste learning curve. Start on scrap: practice glue spread and rolling. In home garages, use PVA for dry rooms only—switch to PU for durability. Acclimate everything 24 hours. Clamp overnight; trim next day. Pros hire for curves or large sheets to avoid waves from uneven pressure. Test bond strength by knocking—if solid, it holds.
Does laminate on MDF withstand kitchen heat?
Typically yes for 1 mm+ HPL under gas stoves, up to 80°C short bursts. Thin films warp above 60°C. Pair with 18 mm MDF and ventilation hoods common in Indian kitchens. Edge seal blocks steam. Avoid direct flame contact. In modular setups, add aluminum spacers. Check after install: heat sample with iron—if no bubble, safe for use.
How to remove bubbles after lamination?
Slit bubble with craft knife, inject PU glue via syringe, press flat with roller, clamp 4 hours. Larger areas need full panel redo. Prevention trumps: always dry-roll first. In humid sites, use breather fabric under vacuum bag. Post-fix, sand slit smooth before touch-up paint match.
Is vacuum pressing necessary for good results?
No, manual works for flats under 1x2 m with heavy roller and clamps. Vacuum ensures zero air on larges, cutting bubbles 70%. Rent bags for Rs 500/day in cities. Trade-off: vacuum slower setup but uniform. For wardrobes, manual suffices if rolled 5 passes.
What thickness laminate for heavy-duty furniture?
1-1.5 mm HPL for office desks or kids’ rooms resisting scratches. 0.7 mm for walls. Thicker adds weight/cost but 2x durability. Match to MDF: 12 mm min for spans over 60 cm. In India, specify anti-fingerprint for oily hands.
How to store laminated MDF panels on site?
Vertical racks with spacers every 30 cm, covered from dust/rain. Avoid flat stacking—sags under weight. In monsoons, tarp with ventilation gaps. Acclimation post-delivery prevents cupping during install.
Can you paint over laminate if mismatched?
Possible after sanding to 220-grit and primer, but bond weaker than direct MDF. Use PU topcoat for adhesion. Better match prints upfront. Test on scrap: scuff, prime, paint—scratch after 48 hours cure.
Why does laminate dull after cleaning?
Abrasive cleaners etch gloss. Use pH-neutral soap + microfiber only. Matte textures hide better. In homes, weekly damp wipe suffices. Revive mild dull with laminate polish, buff lightly.
What if MDF swells under laminate?
Cause: unsealed edges pre-install. Cut losses, replace panel. Prevention: full band + backer sheet. In coastal, use HDFWR base.
Disclaimer: This content is provided for general informational purposes based on industry practices and publicly available information. Product specifications, standards, prices, and availability may vary by manufacturer, region, and time. Readers should independently verify details with manufacturers, dealers, or qualified professionals before making purchase or construction decisions.Want Plywood Suggestions?
Share a few details and a VIR MDF specialist will suggest suitable brands and connect you to responsive dealers.