How to Cut MDF Cleanly: Blade Choice, Dust Safety & Chip-Free Edges
Cut MDF without chipping: saw/blade basics, support methods, dust safety, and finishing steps for crisp edges you can laminate or paint.
Quick Decision Summary
Use a fine-tooth carbide blade (80+ teeth), zero-clearance insert, painter's tape on cut lines, and full dust extraction for chip-free MDF edges.
If you’re in a hurry: Score the line first with a utility knife, apply masking tape over it, use a table saw or circular saw with a high-tooth-count blade spinning at full speed, support the panel fully to avoid vibration, and wear a mask plus goggles. Cut from the good side up. Sand lightly after. This setup works for most Indian workshops handling 18mm wardrobes or kitchen shutters, preventing tear-out that ruins laminates in humid storage.
- Choose this if you cut often for modular interiors—invest in a dedicated MDF blade for repeatability.
- Avoid this if MDF is damp from monsoon stacking; dry it first or risk splintering and dust explosion.
What This Material/Option Actually Is
MDF, or medium-density fiberboard, is engineered wood made from wood fibers glued with resins under heat and pressure. It offers a smooth, uniform surface ideal for painting, laminating, or veneering in furniture like wardrobes and TV units. Unlike plywood, it has no voids or knots, but its dense fibers make cutting tricky—blades must shear cleanly to avoid chipping the top veneer layer.
Cutting cleanly means straight, smooth edges without tear-out, ready for edge banding or direct finishing. This process applies to standard MDF, moisture-resistant variants, or pre-laminated boards common in Indian interior workflows. Thicknesses from 6mm to 25mm change blade needs: thinner sheets flex more, thicker ones demand power.
Why It Matters in Indian Homes and Sites
In India, monsoon humidity (70-90% RH) swells MDF edges if not cut and sealed fast, leading to screw-holding failures in coastal kitchens or Bangalore wardrobes. Dusty site conditions amplify health risks—fine MDF dust irritates lungs and eyes, worsening in unventilated godowns or Mumbai apartments.
Clean cuts ensure crisp edges for CNC routing or modular assembly, reducing wastage (up to 10% from chips). Poor cuts show as fuzzy edges post-lamination, cracking under AC cycles or termite sprays. For carpenters, it means fewer callbacks; for sites, faster installs despite power fluctuations or uneven floors.
How to Cut MDF Cleanly in 5 Steps
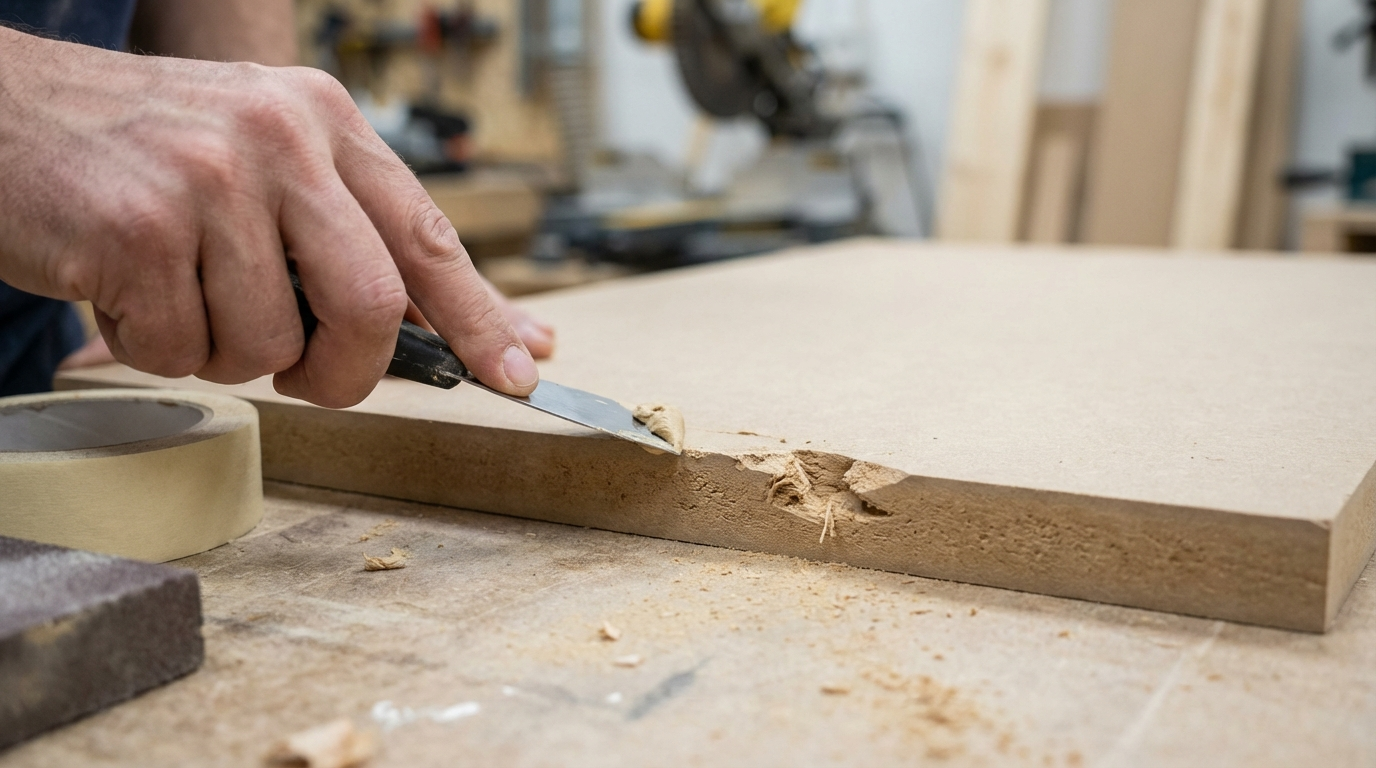
- Prep the panel: Acclimatize MDF 48 hours in site humidity. Measure twice, mark with pencil, score deeply with utility knife (3-4 passes).
- Secure support: Use sacrificial fences or zero-clearance inserts. Tape cut line with painter's masking tape to hold fibers.
- Select and set blade: Install 80-100 tooth carbide blade, ensure sharp (no nicks). Run at max RPM, feed slowly (1m/min).
- Cut from good face: Place finished side up for table saws, down for circular saws. Full dust collection on.
- Finish edges: Sand with 220-grit, check squareness with try square. Seal immediately with edge band or primer.
Common failure: vibration from poor support—test run without cutting. In humid Kerala sites, dry panels under fans first.
What saw should I use for cutting MDF at home?
For home use, a table saw with a fine blade gives the cleanest straight cuts on 18mm MDF sheets. It stabilizes the panel better than handheld tools. Direct answer: prioritize table saw if space allows; otherwise, track circular saw with guide rail. Nuance: handheld jigsaws chip badly on curves—reserve for rough outs. In Indian homes with power cuts, battery circulars work but slow feeds prevent burning. Next step: clamp straightedge guide 1cm from line, test on scrap.
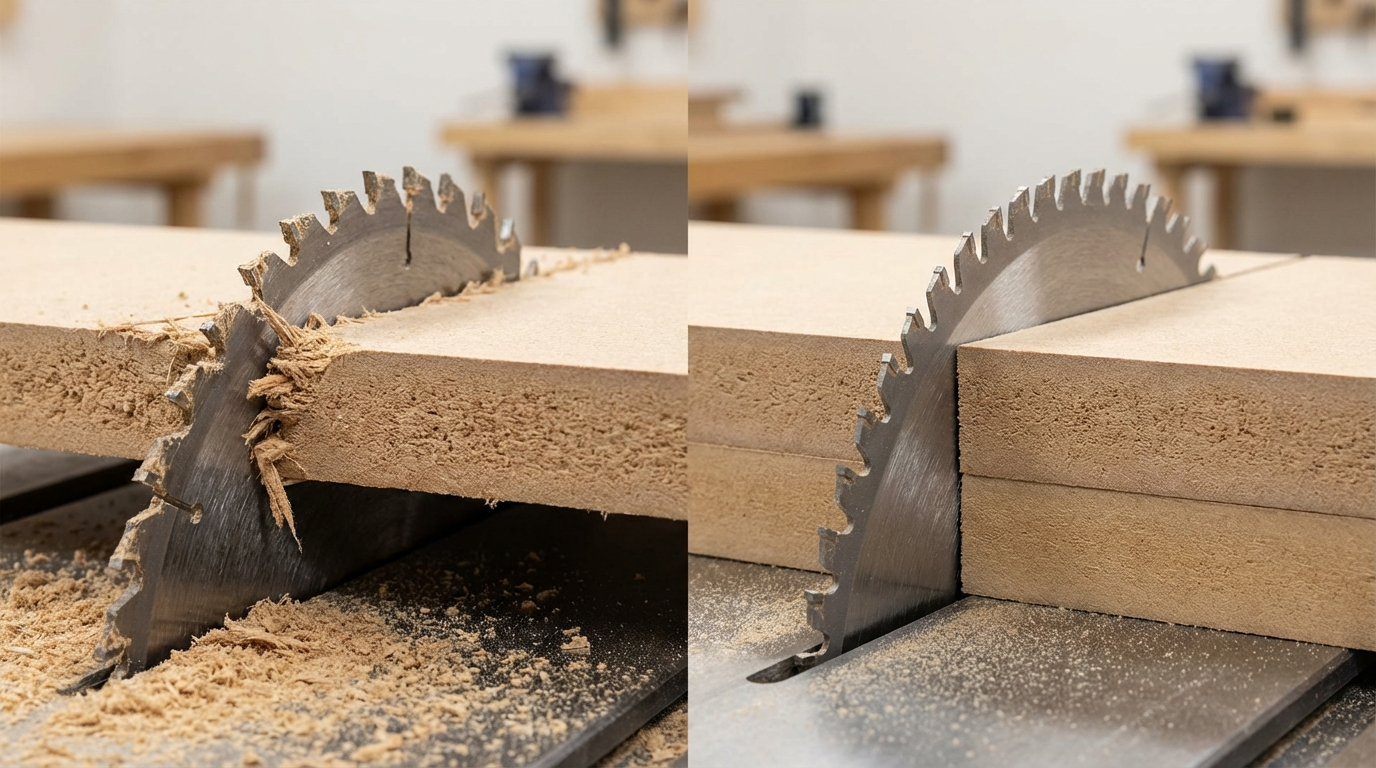
Can I cut MDF with a regular wood blade?
No, regular coarse blades (24-40 teeth) tear fibers, causing 2-5mm chips. Use ATB (alternate top bevel) carbide blades with 80+ teeth for shearing. Conditions: plywood blades dull fast on MDF resins. Indian workshops see blade life drop 50% without dedusting. Check: count teeth, feel carbide tips. Upgrade saves edge sanding time, vital for laminate-ready shutters.
Blade Choice: Types and Tooth Counts
Fine-tooth blades prevent chipping by making micro-cuts. Key types: negative hook angle (5-10°) for less tear-out, hi-ATB for smoother finishes. Tooth count matters—60 minimum, 80-120 ideal for 18-19mm thickness.
| Tooth Count | Best For | Trade-off | India Site Tip |
|---|---|---|---|
| 60-80 | Straight rips, thicker panels | Slower cuts, more passes | Coastal humidity: clean often |
| 80-100 | General wardrobe cuts | Balanced speed/finish | Monsoon: store dry |
| 100-120 | Curves, thin laminates | Dulls faster on resin | AC rooms: less swelling |
Verify sharpness: no resin buildup. Hone every 5 sheets.
What's the difference between positive and negative hook blades for MDF?
Negative hook (0 to -5°) pulls less aggressively, reducing bottom-side tear-out on MDF. Positive hooks grab fibers, chipping badly. Use negative for clean edges. Exceptions: ripping long boards—slight positive if power suffices. In dusty Delhi yards, negative lasts longer. Test: cut scrap, inspect both faces. Pair with tape for 100% chip-free.
Saw Types for Clean MDF Cuts
Table saws excel for precision; circular saws for portability. Jigsaws for curves but with metal blade. Band saws minimize dust in shops.
- Table saw: zero-clearance throat plate essential—build from plywood scrap.
- Circular saw: use 48-tooth blade, fence guide clamped.
- Panel saw: vertical for shops, but align tracks perfectly.
In Indian sites, generator power suits table saws; battery for remote fits.
Is a circular saw good for MDF without chipping?
Yes, with track guide, fine blade, and tape—but less precise than table saws. Chips occur from wobble. Fix: shoe plate waxed, slow feed. For 12mm shelves, ideal portability. Coastal carpenters: rinse blade post-cut to remove salt residue. Check: run parallel test cut, measure variance under 0.5mm.
Support Methods to Prevent Vibration and Chips
Full panel support stops flexing—use roller stands, sawhorses 60cm apart. Zero-clearance inserts close blade gap to 1mm. Tape seals fibers during cut.
Steps: Clamp to bench, overarm guard up, featherboard against fence. In monsoon-stored MDF, extra clamps prevent warp-induced binds.
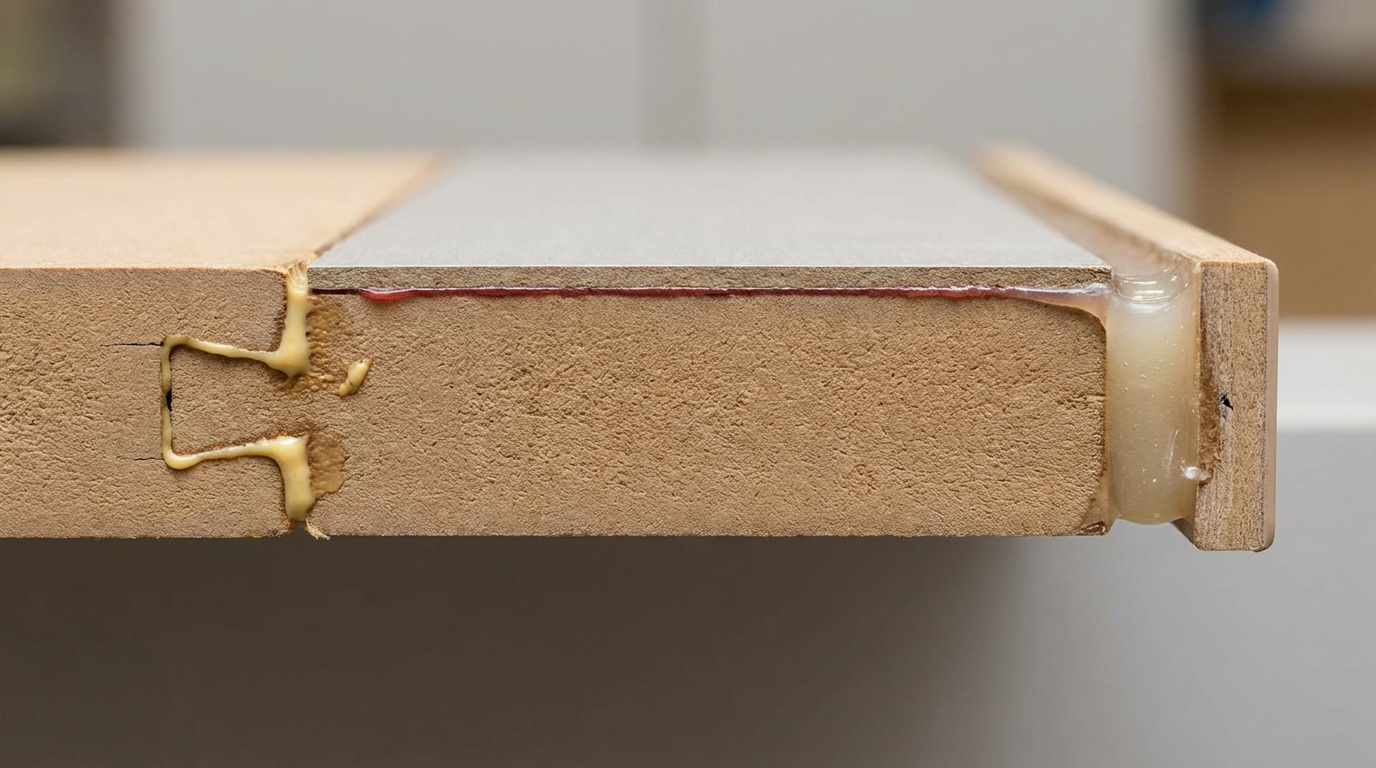
How do I make zero-clearance for MDF cutting?
Drill blade kerf in plywood insert matching throat plate. Secure with screws. Reduces tear-out 90%. Nuance: remake after blade change. Indian workshops: use 12mm scrap MDF for insert. Next: test with offcut, sand insert flush.
Dust Safety: Gear and Ventilation Tips
MDF dust is carcinogenic—fine particles (<10 micron) linger in humid air. Wear N95 masks, goggles, gloves. Shop vac with HEPA or cyclone separator at blade.
Ventilation: exhaust fan to outside, wet mop floors daily. In Mumbai balconies, plastic sheeting contains spread. Health check: no dry cuts indoors.
How dangerous is MDF dust in humid Indian workshops?
Very—binds with humidity, forming paste that clogs lungs. Respirable silica adds silicosis risk. Use full extraction (99% capture). Conditions: pre-lams worse. Step: fit hose direct to blade guard, empty daily.
Finishing Steps for Crisp, Laminate-Ready Edges
Post-cut: blow dust, sand 180-320 grit cross-grain, wipe with tack cloth. Apply edge band hot-melt or PVC tape. Primer seals for paint.
India tip: silicone caulk gaps in humid zones. Check flatness with straightedge.
Trade-offs in Cutting MDF Cleanly
Fine blades slow cuts (trade speed for finish). Dust gear adds setup time but saves health costs. Tape prevents chips but leaves residue—peel slow.
| Priority | Fast Cut | Clean Edge |
|---|---|---|
| Speed | Coarse blade, no tape | Fine blade + tape |
| Cost | Standard tools | Dedicated blade ($20-50) |
| Safety | Basic mask | Full vac + PPE |
Failure Modes and Fixes
- Symptom: Top-side chipping. Cause: Dull blade or high feed. Prevent: Sharpen every 10 sheets. Fix: Sand or recut.
- Bottom tear-out. Cause: No support. Prevent: Roller stands. Fix: Router cleanup with flush bit.
- Burn marks. Cause: Slow speed/resin. Prevent: Wax fence. Fix: Sand 220 grit.
- Dust explosion. Cause: Static in dry AC. Prevent: Antistatic spray. Fix: Vac immediately.
- Edge swelling post-cut. Cause: Monsoon moisture. Prevent: Seal same day. Fix: Dry, sand, re-prime.
- Vibration wobble. Cause: Uneven floor. Prevent: Level sawhorses. Fix: Check squareness.
Common Mistakes to Avoid When Cutting MDF
- Using plywood blades—chips ruin 20% panels; switch to MDF-specific.
- Cutting damp boards—monsoon stacks swell; fan-dry 24hrs.
- No tape on line—fibers lift; apply 2 layers.
- Ignoring dust—lung issues build; full PPE always.
- Fast feeds—binds blade; slow steady.
- Forgetting good-face orientation—wrong side tears.
- Skipping zero-clearance—gaps snag; DIY insert.
- Not sanding post-cut—fuzzy edges delam later.
Decision Framework: Tools for Your Scenario
| Condition | Recommended Blade/Saw | Verify/Extra |
|---|---|---|
| Wet zone kitchen | 80T negative hook, table saw | Dry panels, seal fast |
| Coastal humidity | 100T, dust vac | Antistatic, rinse blade |
| Heavy use workshop | 80-100T carbide, panel saw | Hone weekly |
| Tight budget home | 60T circular + guide | Tape + slow feed |
| High scratch risk | 120T fine, jigsaw curves | Zero-clearance |
| Fast modular OEM | 100T CNC blade equiv. | Test scraps daily |
Which blade for CNC cutting MDF?
2-3 flute upcut spiral, 80mm diameter for 18mm depth. Chips evacuate better. Nuance: downcut for laminates to avoid top chips. India CNC shops: coolant mist in humid runs. Check: run program on scrap, measure edge.
Quality Checks You Can Do Without Lab Tests
Before buying/cutting: Tap for dead sound (no voids), weigh for density (700+kg/m3 feels heavy), check edges straight.
After cutting: Inspect for fuzz (sand test), measure kerf width consistent, no discoloration.
Post-install: Edge band adhesion (pull test), screw hold (torque without strip).
Tips for Different Users
For Homeowners: Durability Focus
Buy pre-cut if possible; learn basics for repairs. Clean dust weekly, avoid water spills. Do: Tape edges before DIY cuts. Don’t: Store sheets flat in garage—stack vertical.
For Carpenters: Workflow Efficiency
Dedicate one blade, batch cuts same day. Fasten 38mm from edge. Handling: Gloves prevent oils. Hinge zones: double-screw pre-drill.
For Architects/Designers: Spec Precision
Specify 80T blade in drawings, MR grade for wet. Detail edge returns 3mm. Wet-zone: HDFWR + double seal.
For OEM/Modular Makers: QC Scale
QC checkpoint: 10% scraps cut/test daily. Reduce returns: auto-dust, blade swaps. Repeatability: caliper edges <0.2mm variance.
FAQs
Can pre-laminated MDF be cut cleanly?
Yes, but tape laminate surface heavily and cut from printed side up on table saws. Fine blades prevent foil peel. In Indian humidity, laminate bubbles if dust-embedded—vacuum thoroughly. Slow feeds avoid heat buildup cracking glue. Post-cut, iron edge band for seal. Test on corner scraps first to match machine settings.
What's the best speed for cutting MDF?
Full RPM (4000-5000) with slow feed (0.5-1m/min). High speed shears fibers cleanly. Exceptions: thick 25mm needs power saws. Monsoon sites: clean blade mid-sheet. Burning signals slowdown—wax up. This balances finish and blade life in daily wardrobe runs.
How to cut curves in MDF without splintering?
Jigsaw with 10-12T metal blade, tape line, drill relief holes. Or bandsaw with 1/4" skip tooth. Support fully. For laminates, scroll blade fine. Coastal: dry first. Sand curves with spindle sander. Pros use CNC—handheld ok for prototypes but practice speed control.
Does MDF cutting produce more dust than plywood?
Yes, finer and resin-laden, up to 2x volume. Extract 99% or health suffers. HEPA vacs best. India tip: cyclone pre-filter for godowns. Wet dust clumps in humidity—mop prevents slips. Gear: half-mask with P2 filters reusable.
Can I use a miter saw for MDF?
Limited—short crosscuts only, with fine blade and clamp. Long rips chip from drop. Add zero-clearance fence. Good for trim but table saw superior. Power fluctuations: clamp extra. Check angle accuracy post-cut.
How to store cut MDF edges before edge banding?
Vertical racks, covered, fan-circulated air. Seal primer within 24hrs. Monsoon: silica packs nearby. Avoid stacking—warp risk. Label sizes for workflow. This prevents swelling in Chennai transits.
Is there a difference cutting HDF vs standard MDF?
HDF denser, needs sharper blades, slower feeds. Chips finer but harder. Moisture-resistant HDFWR cuts similar but dust wetter. Thickness: 5-6mm HDF flexes less. Verify density tap-test. Ideal for coastal cabinets.
What if my MDF chips anyway after all precautions?
Router cleanup: 1/4" flush bit on template. Or belt sand 80 grit light. Root: blade dullness. Replace cycle: 20-50 sheets. Future: scrap calibration cuts daily. Saves rework in tight deadlines.
Should I cut MDF with the fence or miter gauge?
Fence for rips, miter for crosscuts—never freehand. Fence aligns blade parallel. Check: offcut test square. Vibration killer. For angles, sliding table if available. India floors uneven: shim base.
Disclaimer: This content is provided for general informational purposes based on industry practices and publicly available information. Product specifications, standards, prices, and availability may vary by manufacturer, region, and time. Readers should independently verify details with manufacturers, dealers, or qualified professionals before making purchase or construction decisions.Want Plywood Suggestions?
Share a few details and a VIR MDF specialist will suggest suitable brands and connect you to responsive dealers.